Showing posts with label DIY. Show all posts

Monday, July 29, 2013

DIY: How to Refinish a Dining Room Table

I have been wanting to replace my small dining room table with something that can accommodate a growing family in the future, so I decided to tackle refinishing a vintage 1930's dining set. Here are the steps I used, with photos, to help you NOT make the mistakes I did.

1. Locate your furniture. Make sure it is REAL wood, not laminate. You will be in for a rude awakening once you start refinishing it! Here was my befores of the vintage set I got from a friend:

Chairs were dingy but great (real) wood structures to work with

The table had a cherry stain which I hated, this was during sanding...

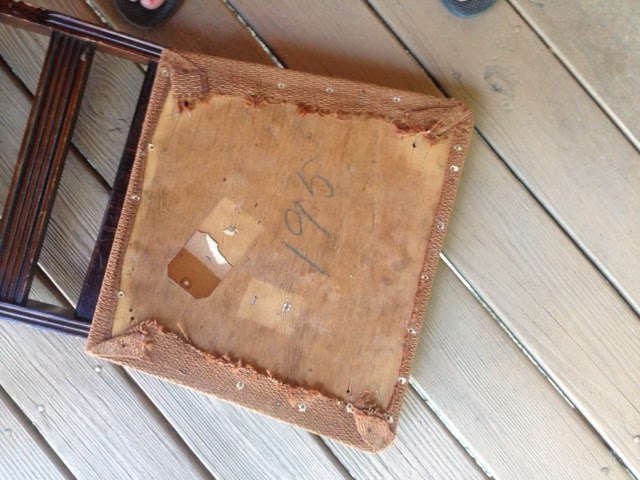
Underneath the checkered fabric I found the original fabric that had never been taken off
Once I got down to the bones of the furniture I found a few surprises. It looked like there had been multiple stain colors used over the years and the seats had the original fabric underneath the checkered blue fabric. The good thing was that the actual wood for the seats were in great shape so I was able to keep it.

Supplies:

Batting for seats
Spray Primer
Sander
Paintbrush (Two types: One large for Stain on table and small for chairs)
Paint- I used Semigloss oil-based enamel since I knew food might get on the chairs and you can easily wipe down

Here is the part that I HIGHLY say to skip..which I didn't. I bought chemical stripper and thought it would be easier than sanding all of the old stain off the chairs. I WAS WRONG. Here was during stripping:


Not only did I feel my skin peeling off (not really but it felt like it was with the tiniest amount on my skin even though I was completely covered head to toe in clothes). I'm pretty sure if I get cancer later in life the doctors will attribute this very moment as the reason for it. It did as it said it would but it was NOT worth the trouble. The stain bubbled up and I had to end up sanding every square inch of each leg anyway just to get this bubbled up stain off. The whole reason for it was so I didn't have to sand! That stuff just scares me to death now. Never again! I didn't get a picture of this process because I was worried more about my health than chairs at this point. I stopped the project for a week and had to regroup...

After my mere breakdown I got back to it. I got the sander out and took it to the large part of the chairs and the table. I got sandpaper and a steel wool pad for the small parts of the chairs and did by hand. I would do a chair a day for my own sanity's sake. It was coming together, although the furniture looked pretty pitiful at this point. This is by far the WORST part of the project but you have to stay patient, it's the most critical part.

After all the chairs were smooth and removed of any stain I took spray primer to them and did a very light coat. Here is one:

I had to move inside because it was so humid. How about Emma overseeing the project behind me?
After spraying each chair with one coat of primer I painted and thin coat of enamel paint on them each day. I did a total of three coats on each. This worked my nerves as well because there are so many tiny parts to these chairs and I felt like I was never going to finish!

The finished product was well worth it. I didn't get process photos of the table because it wasn't nearly as involved. Sand, stain, done. I stained the table a dark espresso. I also didn't get my process of recovering the chairs but here is a great tutorial that I followed. I got three yards of fabric at fabric.com. It was very straightforward and impossible to screw up. The only advice I would give is to make sure your pattern is the right way on all the chairs. I stapled and flipped over a few times to realize I did my chevron pattern backwards and had to redo:/

After:


Individual chair

Up close of the seats

I swore off ever tackling a dining room set again but I'm so happy with the results. Stay patient and don't beat yourself up if you totally drop the project for a week or two. It's better to do that than to rush through it.

Good luck!

Friday, May 10, 2013

Spring, it's heavenly!

It's official, it's spring! And here in the deep south it's already feeling like the dog days of summer. I definitely am NOT looking forward to the 100+ degree temps but I can't lie, I'm loving the weather now.

Josh and I planted an organic garden recently and it's taking off! I'm looking forward to having some fresh veggies in the near future. If you want to stay chemical free look into companion planting, we set up our garden like this and have had ZERO pests in our garden! It's amazing and we have chemical free produce to munch on all season.

Try companion planting for a chemical free and pest free organic garden

We have also enjoyed trying new types of gardening like for example growing pineapples, potatoes and tomatoes from their actual fruit. The tomatoes were actually an accident, they started coming up in our compost from an old tomato!

Left: Pinapple plant, Right: Sweet Potato, Bottom: Tomatoes from compost

Some other oddities around the Wright lake house is none other than LIZARDS. These guys are everywhere down here and I have to admit it took me a while to get used to them hopping around. The great thing is that I have hardly any bugs, which is amazing especially since we live on a huge lake.

These guys stay full and keep the creepy crawly bugs and mosquitoes off of me. I have grown to love them for that reason alone :) Even the ugly one is kinda cute when he sits on the mushroom and listens to the gnome's stories...

 
It's so nice to see everything in bloom, it rejuvenates my soul. I think I have come to realize that heaven in my mind is being surrounded by none other than plants, animals and pretty furniture. Random? Well, it is my heaven not yours :)

Plants...

My little herb garden

These bulbs were from my grandmother, she got them in Mexico

Sunflowers are about to pop..the birds love them!

I heart Hostas.

Our little front patio where we sit and look out over the lake

Animals...
 
Emma and Blue (aka the "kids"). I love how Blue (and his dirty nose) is sleeping standing up. Hard life!

These two go at it every morning on my dock..I have no idea what they are fighting about!
Pretty furniture...

My neighbor recently did a trade with me..I got these two circa 1930's beauties! Above is the bar cabinet

Circa 1930's china curio..gorgeous! Try trading with a friend, you'll be surprised what they want to get rid of!

See how I wrapped all of that up nicely? :) What is your idea of heaven? What would it include?

-Rach

Sunday, January 20, 2013

DIY Shark's Tooth Necklace


I've been walking past our jar of collected shark's teeth for months trying to figure out what to do with them. Well, I didn't figure out what to do with them but rather one of them...a chic necklace! I was going to document the steps but little did I know within a few hours it was complete and I hadn't taken one picture. So give me credit for at least showing you the finished product, bokay?

We go camping on Cumberland Island every year and collect sometimes hundreds of shark's teeth in one visit. My favorite one has always been a very large fossilized tooth from an extinct Hemipristis shark so I decided to use it in my necklace...


Step 1: Find a shark's tooth. (you can always order them online, check Ebay or contact me) It's nearly next to impossible to reproduce so you don't have to worry about being sold a "fake" shark's tooth.

Step 2: Paint the "gum". I used a gold enamel paint that I got at Michaels Arts store. You can tell where the "gum" and tooth starts because of the texture. Also, the enamel won't stick on the slick tooth so don't worry about being perfect. Let dry for a few hours. I put mine in the freezer to speed up the process.

Step 3: Wrap with gold wire (also got this at Michaels). I used this tutorial and tweaked it a little. I liked the look of one wire around each side and NO wire around the middle part. It's easy to undo and redo until you get it to where you like it.

Step 4. Attach to a long chain with needle-nose pliers. Done!

P.S. My apologies about the grainy photo, we don't have our digital camera at the moment so I had to take it with my phone!

Friday, August 24, 2012

before & after: vintage chair redo


One thing I love about living in Eufaula is the amazing thrift stores and, believe it or not, the random trash piles. Yes, I said trash piles. Maybe it's the large amount of elderly down here but it seems as if there are so many vintage pieces they discard, or maybe they do not know what they have? I'm not quite sure but I see so much potential!

Recently I ran up on this amazing little chair that my neighbor was sending to the trash (see??). Structurally it was in great shape and I just knew it needed to be in my living room. With a little bit of imagination, paint and fabric I was able to bring it back to life.

Have you brought new life into a discarded object lately?

Monday, July 18, 2011

Our mined sapphires {wanna see?}


I was finally able to sit still enough to get some good pics of the sapphires that we mined a few months ago. How pretty are these babies?! We found around 100 carats and have many more that we can get cut. I wanted to see the lapidary's work before I got the rest done (see the leftover rough sapphires in the background of the top pic). As I thought, they turned out AH-MAZING! They're all around .5 carats and two of the oval cuts are about .75 carats.

If you are ever in the Franklin, NC area, I suggest going to Mason's Sapphire and Ruby Mine. I PROMISE that you will NOT be disappointed! The staff is very knowledgeable and helpful and you WILL leave with stones that you can have cut yourself. The area mainly produces pink and purple sapphires, which I just think are beautiful. We had the Cowee Valley Lapidary cut them; they know exactly how to handle these types of sapphires and know how to cut them to perfection.

I'm so excited to show these off and to be able to say WE found them!

Wednesday, June 22, 2011

Announcement!


I have to admit that I've been a little lax on my post lately. BUT there's a reason that I want to share with you. I've been working my fingers to the bone creating an entirely new website! On this website you will find the results of my first love: Paintings. I've been painting almost everyday and feel the need to take you on my journey as I become the next Pollock. I just can't seem to put the brush down and have decided to stop hiding my true love!

We decided that we wanted a more centralized place where we can have our own creative work on display (instead of Etsy), so I've been hard at work coding out and creating the new site. Don't worry nothing is happening to this one though ( I'll just have a link over to the new one on my nav bar).


WITH THAT BEING SAID- I wanted to announce that I'll be taking a little break to work on my new site; possibly a week or two, just to make sure my new baby is taken care of in it's infant stage :)

Above is a sneak peek of a few of my paintings as well as a peek of the user friendly site. I plan on selling mainly paintings with prints and Josh's concrete creations as well, but who knows what else we might create! ( Ray and Charles anyone?  :)

I'm so excited to finally tell you and can't wait to share it with you all!

Friday, June 17, 2011

Family Portrait


I have a friend whom is looking to do a unique family portrait. Isn't this just the most adorable way to display your growing family? Now if I could only learn to sew... :/

Thursday, June 16, 2011

Reuse Old Soda Bottles


How neat is this idea? I'm obsessed with bangles ( I really do have WAY too many!), why not condense them with an old soda bottle? Pure genius!

(Via Pinterest)

Wednesday, June 15, 2011

For all you teachers...


How cute is this idea? You could even bake them in the standard round cupcake molds and create happy faces for back-to-school welcome present. Too cute.

(Via Flikr)

Monday, May 23, 2011

Junk Pile Find

Before


After!

While on a little joyride this weekend, Josh and I stumbled upon a historic house in downtown Auburn that was throwing out scrap wood. I found this little guy and immediately thought of a produce box for all my budding veggies. It turned out perfectly after a coat of paint!

What junk find have you fixed up lately?

Monday, May 16, 2011

Eco-concrete bowls by my husband Josh!

Deep Wear $70
River Wok $65- SOLD
Tie Dye Wok $65
V Bowl $55

Ghost Bowl $50

Wok Canyon- SOLD


Deep Sapphire $80

Dessert Wok $60

Deep Speck $65
Simply Shallow Wok $40

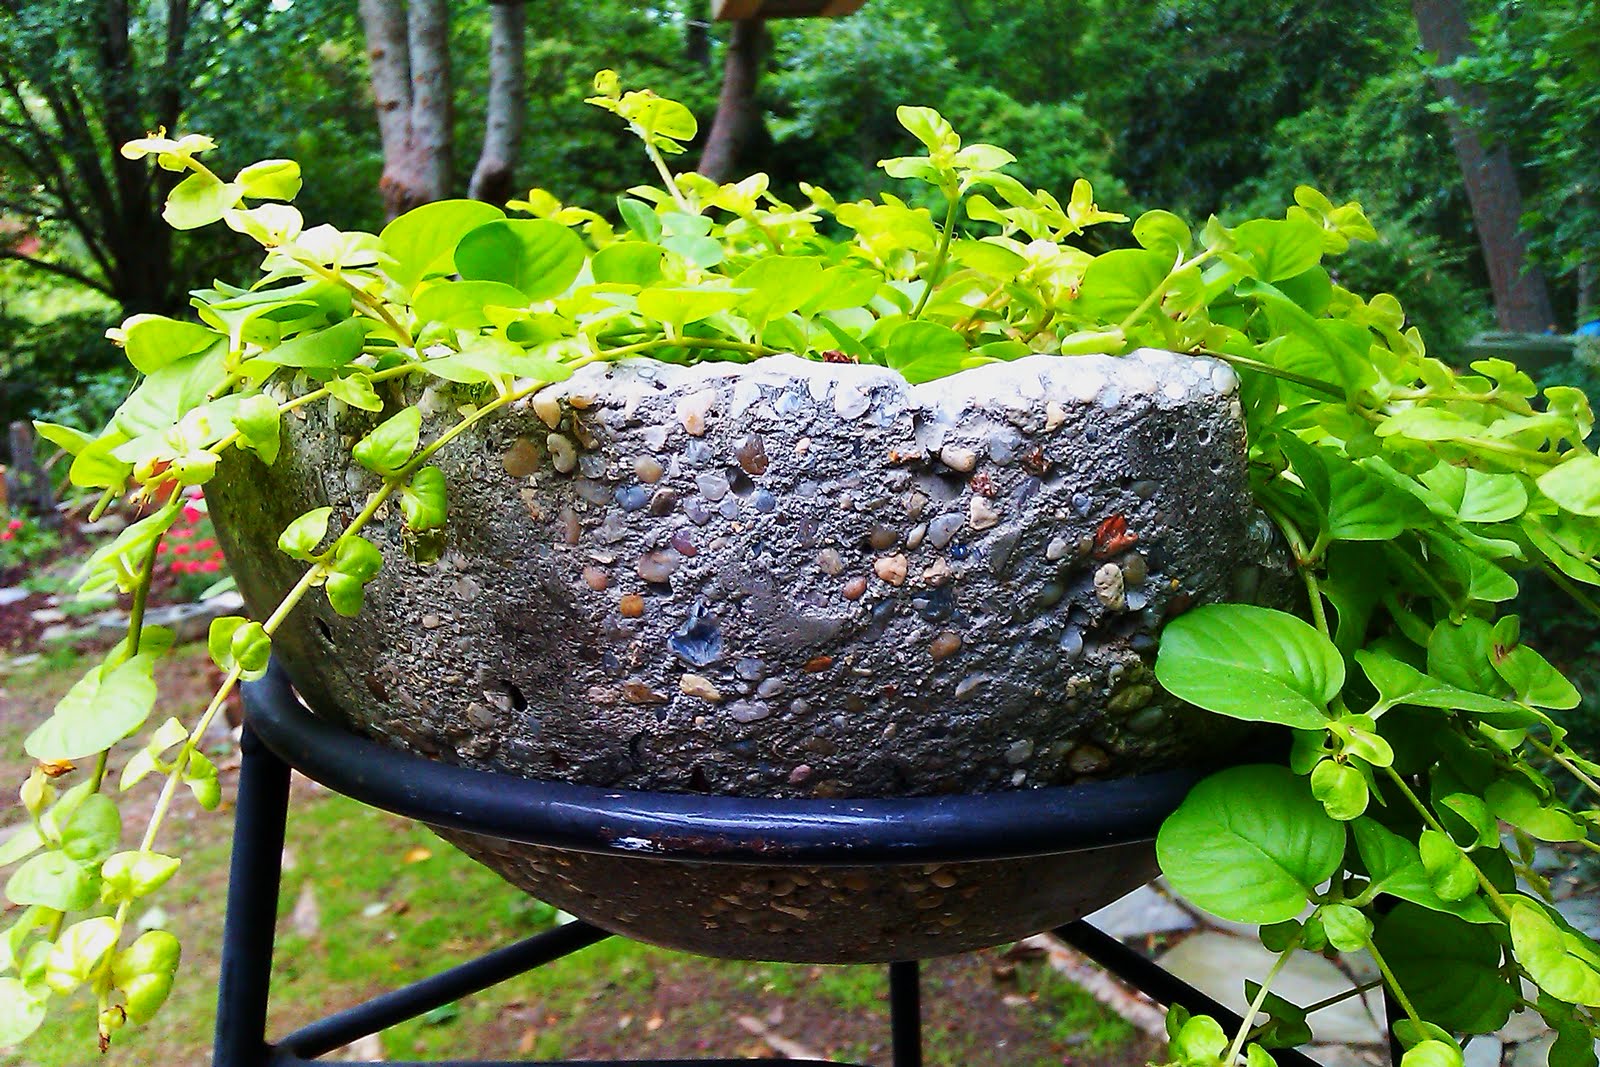
I'm so very excited to show off a few of my husbands concrete creations that he's been working so hard on lately, they consist of items like garden planters, coffee table bowls, garden mushrooms, etc. all made with recycled materials. I'll admit that I've contributed a little too much to the recycled glass (a.k.a my crushed up wine bottles)! ;)

I also have to admit that every time Josh pulls another from its mold I find myself snatching them up. He keeps joking that they all keep 'disappearing'! Hey, they're just so dang versatile and look great in every area of the house..I can't help myself!

Each of these shown will be available soon in the Inspired House of Wright Etsy Shop!

Thursday, May 5, 2011

Our DIY Mother's Day gifts


Hopefully our mothers listened when we told them not to read today's post because I wanted to share with you the gifts we made them...

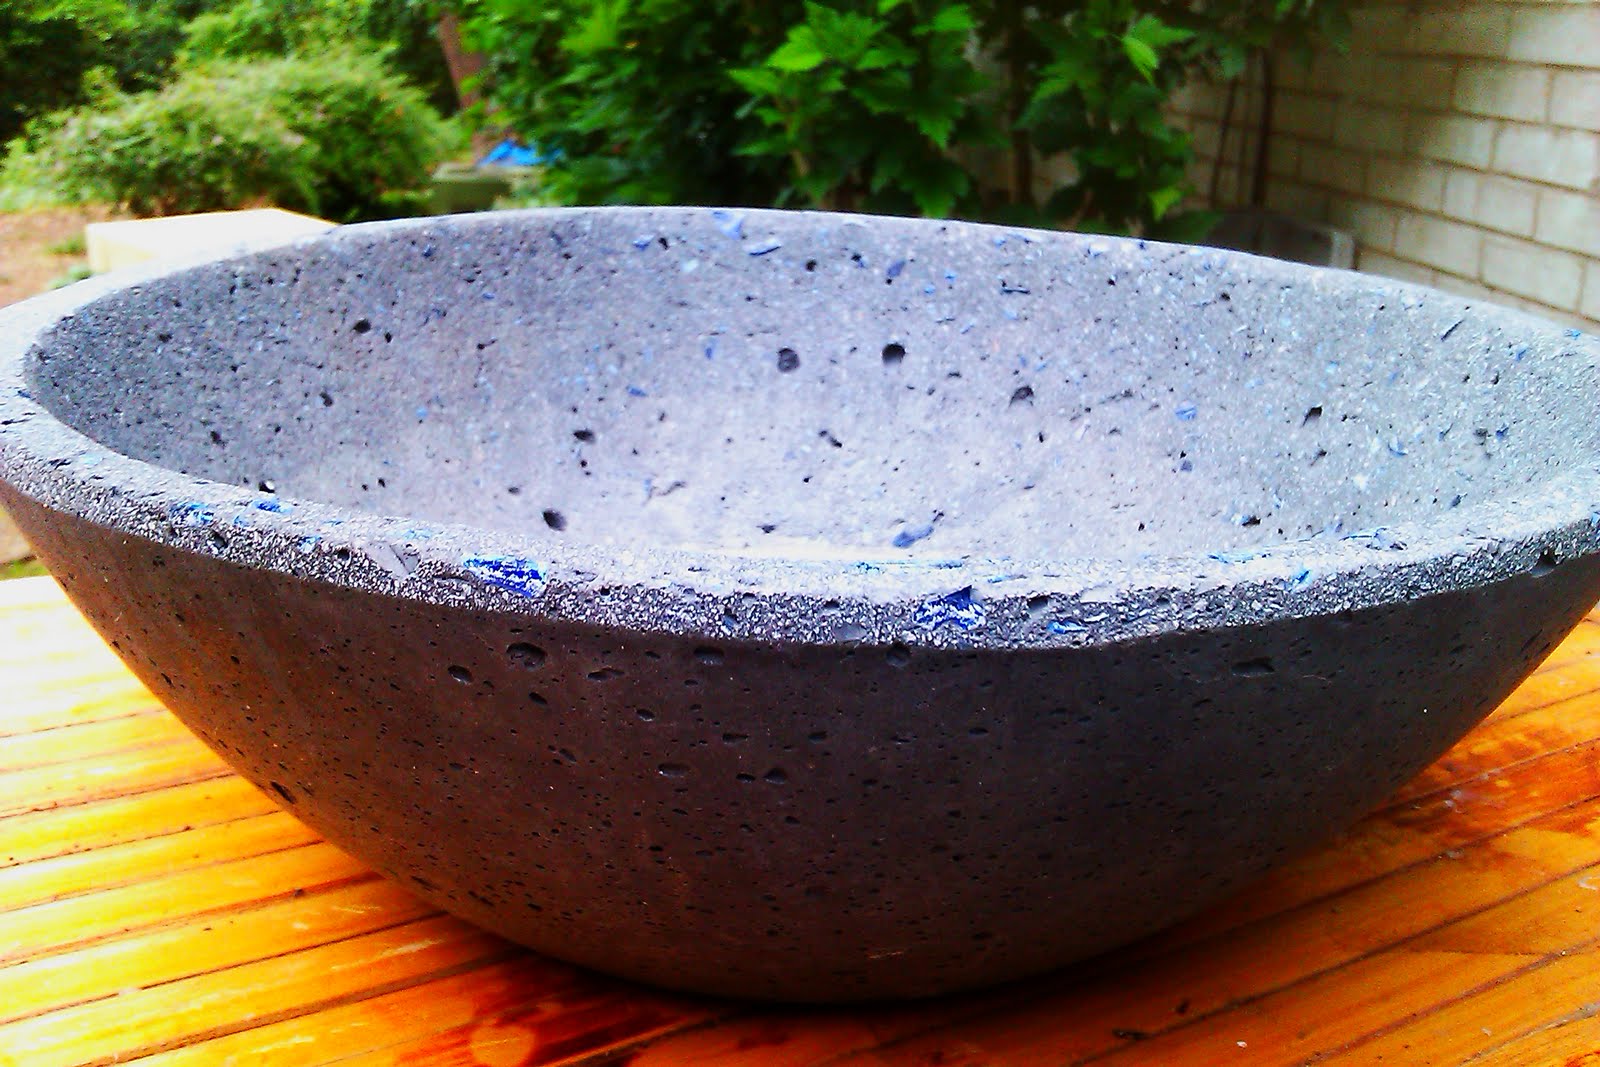
As I mentioned here,  Josh has recently been learning the art of concrete making, concentrating mainly on items like table tops, bowls and planters (which I also want to post about soon). One of the gifts Josh made both of them are concrete bowls made with recycled wine bottle glass (that he crushed himself!). They look so awesome and are perfect for patio, sunroom or kitchen (third pic). He made an additional one for his mom with a lighter mixture to go inside on her coffee table (last pic).

The other two pics are of my mom's completed tealight holder that has a little bit of a story behind it. My parents had a small section of a very old olive tree that had been chopped up and discarded at a vineyard in Napa Valley. They wanted to make something of the beautiful wood as a bit of a keepsake of their trip but never found the time. My mom eventually brought the piece of wood to us and said that we could make something for ourselves since she knew Josh loves woodworking. I could sense that she was a little disheartened though as she handed over the dirty little log, so Josh and I came up with a plan to make something she would enjoy and got to work on it's transformation.

As Josh stripped and buffed away the bark were shocked at how amazingly beautiful the wood was underneath. We got our carpenter friend Nate Chesnutt ( bf of designer Jennifer Berndt) to cut craft the piece of wood into a modern tea light holder for my mom. It turned out way better than we could have ever envisioned and I can't hardly wait to see her face when she realizes where it came from.

Happy Mother's Day to all hardworking moms of the world. We appreciate you so much!


Tuesday, April 5, 2011

Citrus peels to start your seedlings


Who would have ever thunk it? Apparently any citrus peel ( including lemons!) works great as little starter containers for your baby plants. Just make sure you put a tiny hole in it for drainage. Voila!

Image via My Roman Apartment

Tuesday, January 4, 2011

Time for the tree to come down.

Before:


After:


Today I officially got sick and tired of our dying Christmas tree's crunchy needles having their way with our rug. With this newfound energy from my frustration I decided it was time to take down the tree and reinvent my little corner. It was sad, however I have my little nook back to decorate as I please. Much. Better.

Notice our creepy clown painting that I spoke about in our house tour even made the cut. He found the sunroom a bit cold and clammy this time of year :)
Related Posts Plugin for WordPress, Blogger...